


Push-ups stand out among body-weight exercises for being simple, effective, and accessible, no gym equipment needed, just your body and some floor space. Whether you’re a complete beginner or someone who can knock out a few reps but wants to scale up, a structured plan can transform your upper-body strength, core stability, posture, and endurance.
In the next 12 weeks, you’ll follow a progressive push-up plan that builds gradually, emphasising form, volume, and eventually intensity, giving you a sustainable way to level up.
Key Takeaways
- A 12-week structured push-up program helps you progress from beginner to advanced levels safely and consistently.
- Proper form and technique matter more than volume; quality beats quantity.
- Varying hand positions improves muscle activation (chest, triceps, shoulders, core).
- Consistency, incremental overload (in terms of reps/sets/variations), and rest are crucial for achieving strength and endurance gains.
- Body-weight push-ups, especially when progressed, can deliver substantial strength and functional fitness benefits.
Why Push-Ups Work: Benefits & Science
Push-ups are more than just a simple exercise. They deliver a host of benefits for upper-body strength, core stability, functional fitness, and more.
- Upper-body and core strength: Push-ups target the chest (pectoral muscles), shoulders (deltoids), triceps, and engage core muscles to hold your body in a straight plank position throughout the movement.
- Functional movement and stability: Because push-ups use body weight and require coordination between multiple muscle groups, they replicate real-world pushing or lifting motions, improving functional fitness.
- Muscle activation and neuromuscular benefits: Research using electromyography (EMG) shows push-ups activate the pectoralis major at ~61% of maximum voluntary contraction, while also working anterior deltoids, triceps and core stabilisers, making push-ups efficient for strength and neuromuscular coordination.
- Endurance and conditioning: When performed with higher repetitions or as part of a circuit, push-ups build local muscular endurance and can even contribute to cardiovascular conditioning.
- Versatility and convenience: Push-ups require no complex equipment and can be done at home, outdoors, or while travelling, making them ideal for anyone with limited access to a gym.
- Progressive potential: As your strength improves, you can increase difficulty through more reps, varied hand placements, tempo changes, or elevated/declined push-ups, ensuring continuous adaptation.
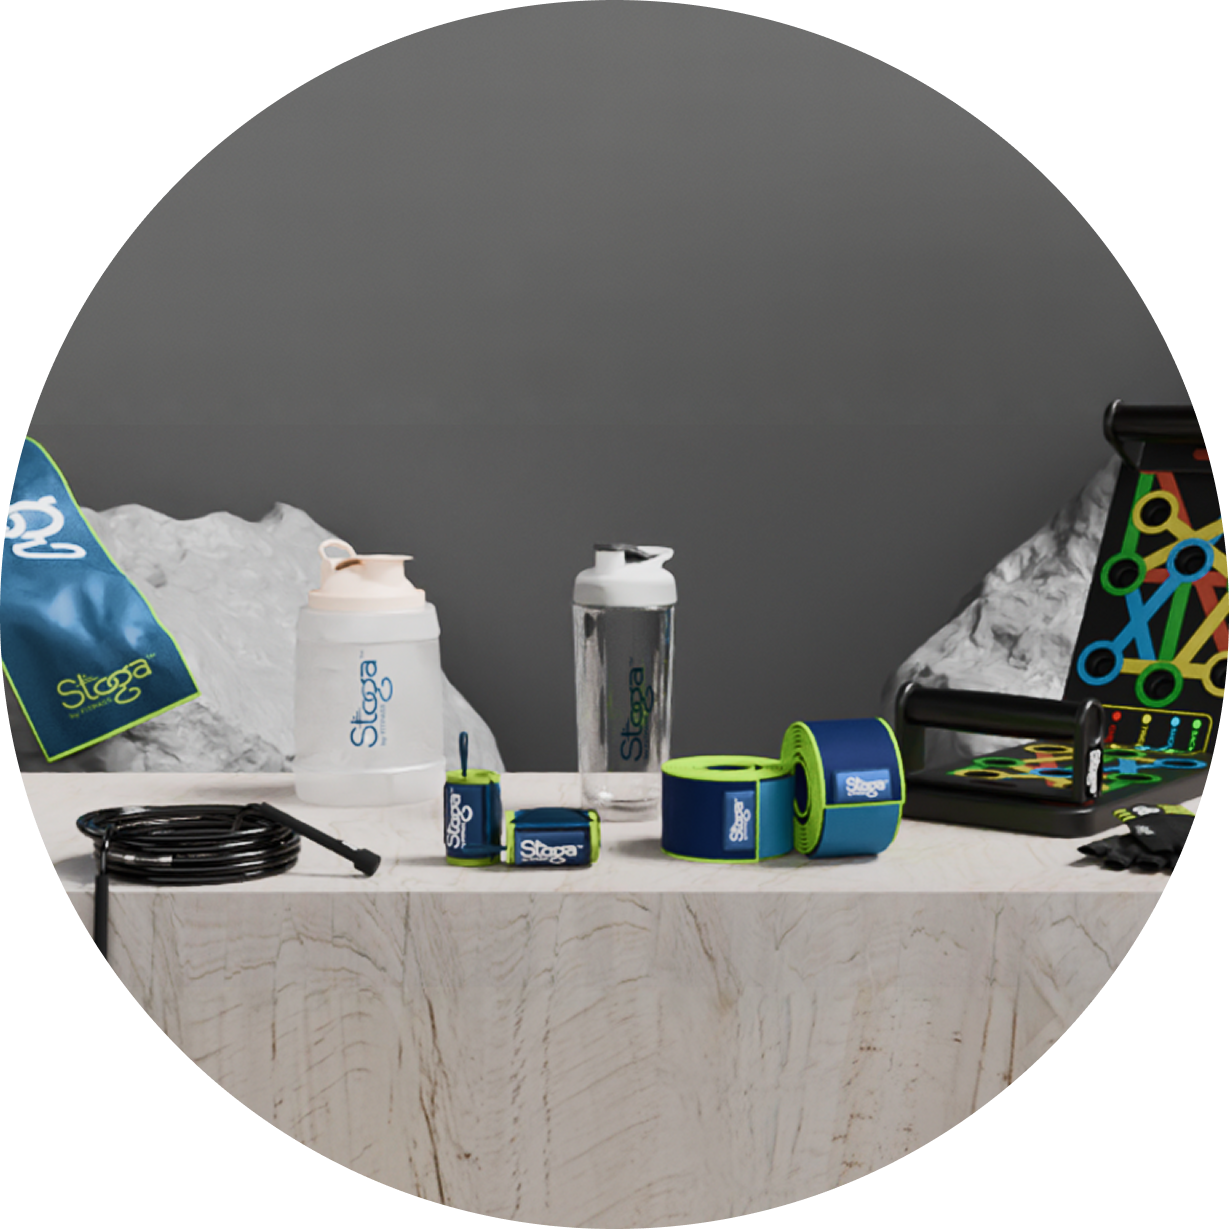
However, one challenge many face is maintaining proper form, especially wrist, shoulder alignment or hand placement, as volume increases. That’s why many home-workout enthusiasts find tools like a push-up board useful to guide hand placement, improve stability, and reduce joint strain.
Role of a Push-Up Board (Optional but Useful)
If you plan to invest in a simple tool to aid your push-up journey, a push-up board can be helpful, especially for beginners or those with wrist/shoulder sensitivity.
A push-up board is a colour-coded platform that offers multiple hand placements: wide (for chest), narrow (for triceps), shoulder-width (for deltoids), and more. This design helps you target different muscles more precisely, ensuring you don’t default to the same hand position every session.
Additionally:
- It offers better wrist ergonomics compared to floor push-ups, thanks to its handles and anti-slip base, reducing wrist strain and improving comfort.
- It fosters core engagement and joint stability because hand placement variation and subtle instability demand more control and stability from your core and stabiliser muscles.
That said, some reviewers caution that fixed angles might not suit everyone’s anatomy, and hand-position alone doesn’t guarantee correct form.
Nonetheless, when used with focus on technique, a push-up board can add variety and support progression, especially for a structured 12-week plan.
12-Week Push-Up Program: Beginner to Advanced
Below is a week-by-week push-up progression plan. It assumes you have little to no experience at first. Adjust based on how your body feels, prioritise form and consistency rather than rushing to high reps.
How to approach this schedule
- Aim for 3 sessions per week (e.g., Monday-Wednesday-Friday), giving at least one rest or active-recovery day in between.
- On non-push-up days, you can optionally do light mobility work or other bodyweight exercises (squats, lunges, planks), but avoid overtraining.
- Warm up with 5–10 minutes of dynamic stretching, especially for wrists, shoulders and core.
- Focus on clean form: straight body line, elbows roughly 45 degrees (unless doing narrow/diamond), controlled descent and ascent.
- If you own a push-up board, use its different hand placements to vary muscle emphasis and challenge.
Here’s a suggested progression:
|
Week |
Focus |
Session template |
| 1 | Foundation: build comfort with bodyweight and form | 3 × 8–10 (knee push-ups or incline push-ups) + 2× 15s plank |
| 2 | Increase volume slightly | 3 × 10–12 (knee or incline) + 2× 20s plank or bird-dog |
| 3 | Transition to full push-ups (if possible) | 3 × 5–8 (full push-ups, slow tempo) + core work (plank/side-plank) |
| 4 | Build consistency | 4 × 6–10 full push-ups + 2× plank 30s |
| 5 | Introduce hand-position variation (e.g. narrow grip) | 4 sets: 2 wide-grip, 2 narrow-grip, 6–10 reps each + core work |
| 6 | Volume + stability work | 5 sets of 8 full push-ups (mix grips) + 2× 30s plank + 1 set scapular push-ups |
| 7 | Endurance build | 4 × 12–15 reps (full push-ups) + 2× 40s plank |
| 8 | Introduce tempo variation / controlled eccentric | 4 × 8–12 push-ups (3-second descent, 1-second up) + core circuit |
| 9 | Increase set count | 5 × 10–12 push-ups + plank 45s + add dips or triceps dips (bodyweight) if possible |
| 10 | Mixed grip and challenge | 3 wide-grip + 2 narrow-grip + 1 diamond (if ready), 8–12 reps each + core + shoulder mobility |
| 11 | Push for higher reps | 4 × 15–20 push-ups (bodyweight) + core + optional incline/decline push-ups (feet elevated) |
| 12 | Test strength + variety | Max-rep push-up set (after warm-up) + 2 sets of decline or diamond push-ups + core and mobility work |
Progressive Levels & Variation: Push-Up Levels Explained
Over 12 weeks, you’ll move through identifiable push-up “levels.” Here’s how they typically map out:
- Beginner (Weeks 1–3): Knee or incline push-ups, focus on form and control.
- Early intermediate (Weeks 4–6): Full push-ups with moderate reps, introduction of varied grips (wide, narrow, shoulder).
- Intermediate (Weeks 7–9): Higher volume, stable form, increased endurance; adding tempo variation, possibly dips or triceps dips for accessory work.
- Advanced prep (Weeks 10–12): High-rep sets, mixed grip, advanced variations (diamond, decline), building strength, hypertrophy, endurance.
Using a tool like a push-up board can support progression by guiding hand placement, helping shift focus between muscles, and reducing joint stress, especially as you increase volume.
For example, wide-grip pushes focus more on the chest, while narrow or diamond-grip pushes engage the triceps more and challenge stability.
Form & Technique: What to Keep in Mind
Good form is the backbone of push-up success. If you sacrifice form for reps, you risk injury and limit effectiveness.
- Body alignment: Keep your body in a straight line, head to heels, avoiding sagging hips or a “pike” shape.
- Hand placement: Shoulders roughly over wrists (standard push-up); elbows should track at ~45° from the torso (not flared wide), or closer for triceps-targeting variations.
- Range of motion: Lower until chest is a few centimetres from the ground (or handles/board), then push up fully, without locking elbows aggressively.
- Core engaged: Brace your core, glutes, and legs, treat your body as one solid plank.
- Breathing: Inhale while lowering, exhale while pushing up, which helps maintain rhythm and stability.
- Control over speed: Especially when using variations or tempo work, avoid rushing reps; focus on control and muscle engagement.
If using a push-up board, ensure it's on a stable surface; use handles properly; don’t overextend wrists or shoulders just to reach for a hand placement slot. Some users report that fixed angles may feel unnatural, so always listen to your body and back off if there's discomfort.
Intensity & Training Strategy: Building Strength and Endurance
As you progress, it’s not just about doing more reps, it’s about increasing intensity and training smarter:
- Progressive overload via volume: Gradually increasing reps, sets, or total volume pushes your muscles to adapt.
- Progressive overload via variation: Changing hand placement, introducing tempo push-ups, incline/decline push-ups, or even adding isometric holds can keep progress going.
- Frequency & recovery: Training 3× per week gives muscles time to recover. Overtraining or daily maximal push-ups can hamper progress and increase injury risk.
- Supportive core & mobility work: Add planks, hip-hinge exercises, and shoulder mobility to build a stable base, essential for push-up performance.
- Consistency: Progress won’t happen overnight. The cumulative effect of consistent sessions over weeks will bring noticeable strength, endurance and form improvement.
Multiple studies support the concept that body-weight push-up training, if progressed correctly, leads to meaningful strength, endurance, and neuromuscular improvements.
At-Home Chest & Triceps Workout Structure (Beyond Push-Ups)
While the plan focuses on push-ups, you can complement it with simple body-weight movements to improve overall upper-body strength and stability, especially on non-push-up days or as warm-ups/cool-downs:
- Planks / Side planks — core stability and posture
- Chair dips (or bench dips) — triceps focus
- Pike push-ups or elevated pike (for shoulders) — shoulder strength
- Bodyweight squats/lunges — maintain balanced strength and posture, even if not push-up related
Such a structure helps ensure balanced development and reduces muscle imbalances.
Common Mistakes & How to Avoid Them
Even with a plan, many tend to slip into pitfalls. Here are some common mistakes and how to steer clear:
- Rushing volume over form, doing many reps but with sloppy form, reduces effectiveness and increases injury risk. Always prioritise movement quality.
- Neglecting recovery, training every day or doing high-volume push-ups without rest can overwork muscles and joints. Stick to 3–4 sessions per week max.
- Ignoring core and posture, push-ups aren’t just about the chest. A weak core or poor posture often leads to sagging hips, shoulder strain, or ineffective reps.
- Sticking to the same variation, constantly doing only standard push-ups, leads to plateaus. Use variations (hand placement, tempo, incline) to challenge your muscles differently.
- Using aids as crutches, not tools, whether you use a push-up board or bars, remember they are there to aid form and variety; they don’t replace correct technique or progressive overload.
Conclusion
A 12-week push-up progression plan offers a simple, structured path from beginner to advanced, building strength, endurance, and confidence over time. By combining consistency, proper form, gradual overload, and occasional variation, you set yourself up for sustainable growth without needing a gym membership.
Whether you use just bodyweight or add a push-up board to guide and challenge you, the key remains the same: stay consistent, listen to your body, and focus on quality.
If you follow this plan, and respect recovery and form, you may well surprise yourself with how much stronger, stable and fit your upper body can become.
Give it a try. Your future self will thank you.
FAQs
Q: Do I need a push-up board to follow this 12-week plan?
No, you don’t. Push-ups can be done on the floor with consistent progress. A push-up board is optional and serves as a useful tool to guide hand placement, reduce joint strain or vary muscle targeting.
Q: How often should I train with push-ups per week?
For most beginners and intermediates, 3 sessions per week with rest or light activity in between is optimal. This frequency balances progress and recovery.
Q: What if I can’t do full push-ups by Week 3 or 4?
That’s okay. Continue with easier variations, knee push-ups, incline push-ups, or wall push-ups, until you build enough strength. Form is more important than speed.
Q: When should I increase reps, sets or move to more challenging variations?
When you can comfortably complete the prescribed sets and reps with good form and minimal fatigue, it’s time to progress, whether by increasing volume, introducing new hand positions, adjusting tempo, or trying incline/decline variations.

